As an Amazon Associate I earn from qualifying purchases.
Have you ever wanted to import your favorite Minecraft skins onto your Nintendo Switch? Well, now you can! Here’s a quick and easy guide on how to do just that.
Contents
- 1 How to import Minecraft skins to Nintendo Switch
- 2 The best Minecraft skins for Nintendo Switch
- 3 How to change your Minecraft skin on Nintendo Switch
- 4 How to get custom Minecraft skins on Nintendo Switch
- 5 How to create a custom Minecraft skin for Nintendo Switch
- 6 The best Minecraft texture packs for Nintendo Switch
- 7 How to install Minecraft mods on Nintendo Switch
- 8 How to import Minecraft worlds to Nintendo Switch
How to import Minecraft skins to Nintendo Switch
If you’re a fan of Minecraft, you may want to import skins from the game to use on your Nintendo Switch. You can find skins online from a variety of sources, but the process for importing them isn’t always clear. Here’s a step-by-step guide to help you get started.
The first thing you need to do is find a skin that you want to use. Many websites offer skins for download, so take some time to browse and find one you like. Once you’ve found a skin, download it to your computer.
Next, open the Minecraft game on your Nintendo Switch. Press the “Plus” button on the right Joy-Con controller to open the game menu. Select “Profile Settings” from the menu and “Edit Profile.”
At this point, you should see an option to “Import Skin.” Select this option and use the file explorer to navigate to the location of the skin file on your computer once you’ve selected the file, press “A” on your controller to import it.
You should now see the new skin in the “Skin Preview” window. If you like how it looks, press “Confirm Profile Changes” to save it. You can now close the profile menu and enjoy playing with your new skin!
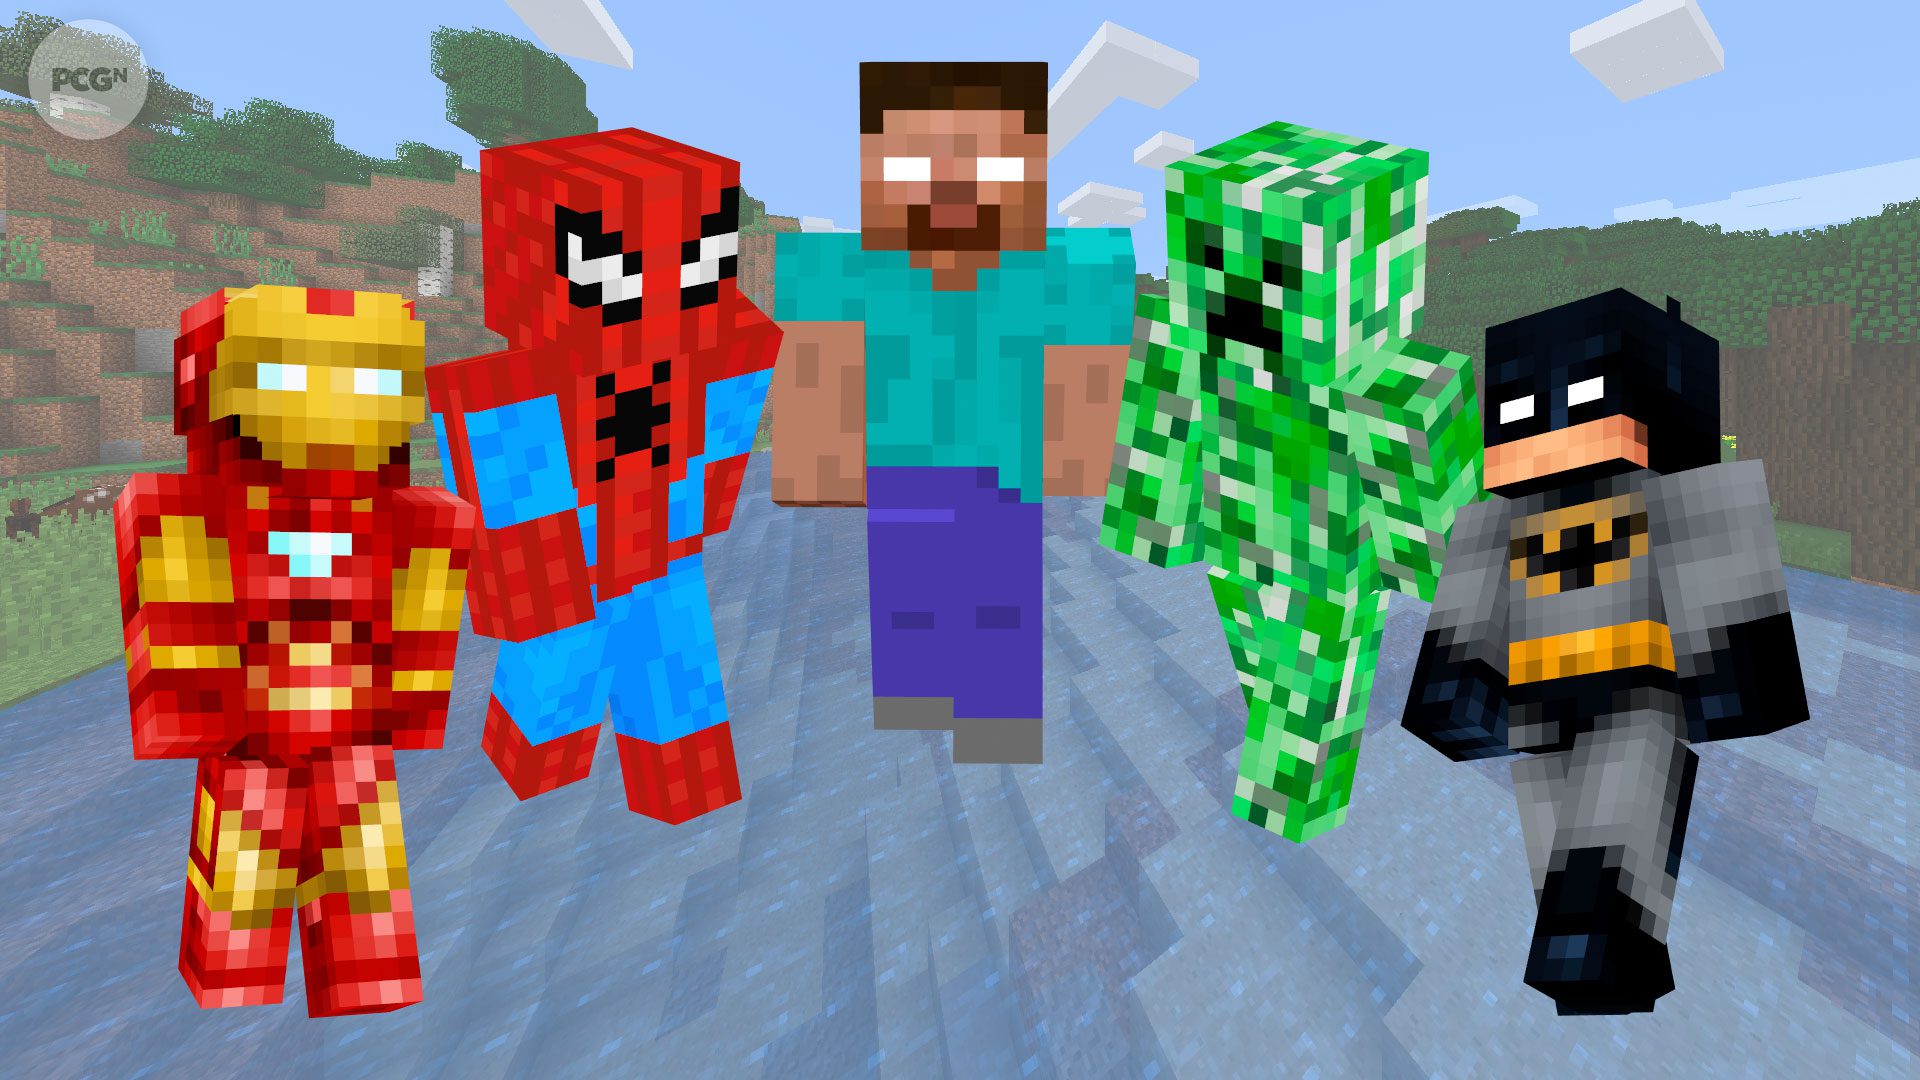
The best Minecraft skins for Nintendo Switch
If you’re looking for the best Minecraft skins for Nintendo Switch, then you’ve come to the right place. In this guide, we’ll show you how to import skins into your game so that you can start playing with a new look.
There are two easy ways to import skins into Minecraft on Nintendo Switch. The first is finding a skin you like online and downloading it to your console. The second is by scanning a QR code that will automatically apply the skin to your game.
We recommend visiting one of the many Minecraft skin websites to find skins online. Once you’ve found a skin you like, simply download it to your Switch and head to the main menu in your game. From here, select “Profile” and then “Change Skin.” finally, select the “Import Skin” option and choose the file that you downloaded.
If you want to scan a QR code instead, you’ll first need to ensure that your Switch is connected to the internet. Once it is, open up your game and head to the main menu again. This time, select “Profile” and then “QR Code.” Now use your Switch’s camera to scan the QR code of the skin you want, which will automatically apply to your game.

How to change your Minecraft skin on Nintendo Switch
In the Bedrock Edition of Minecraft, players have the option to change their character’s skin by going to the Settings menu -> Profile -> Change Skin. If you would like to use a custom skin, you can follow these steps:
1) Visit https://minecraft.net/profile and log in with your Microsoft account.
2) Click the “Change” button next to your current skin.
3) Select the “Upload” option and choose the image file for your new skin.
4) Once the upload is complete, you will be able to select your new skin in-game.
How to get custom Minecraft skins on Nintendo Switch
In order to get custom skins on your Nintendo Switch console, you will first need to export them from your computer to a USB drive. Once you have done this, you can then copy the skins onto your Switch and use them in-game.
To export your skins, you will need to open up the Minecraft skins database in your browser. From here, you can browse through all of the available skins and save them to your computer. Once you have saved the skins, you can then copy them onto a USB drive.
To copy the skins onto your Switch, you will need to plug the USB drive into the console. Once it is plugged in, you can then navigate to the Homebrew Menu and launch the Minecraft Skin Importer app. This app will allow you to import all of the custom skins that you have saved onto your USB drive.

Ravensburger Minecraft: Builders & Biomes Strategy Game
How to create a custom Minecraft skin for Nintendo Switch
In order to create a custom Minecraft skin for your Nintendo Switch, you will need to have a compatible image file (such as a .png file) and the free Paint.net software. Once you have these, you can follow the steps below to create your custom skin:
1. Open Paint.net and select ‘File > Open’.
2. Find and select the image file you want to use for your skin. The image should be 64×32 pixels in size.
3. Click ‘Edit > Invert Colors’. This will create a negative of your skin image, which is necessary for Minecraft skins.
4. Click ‘File > Save As’.
5. Name your file “minecraftskin.png” and save it in the same location as your original image file.
6. You can now transfer this file to your Nintendo Switch and use it as your custom Minecraft skin!

The best Minecraft texture packs for Nintendo Switch
There’s a whole world of custom Minecraft skins out there! Here’s how you can get them onto your Nintendo Switch.
To begin, you’ll need to download a skin pack. There are many different packs available online, but our personal favorite is the ’64×32′ pack by ‘Absorbed’.
Once the skin pack is downloaded, you’ll need to transfer it to your Nintendo Switch. The easiest way to do this is by using a USB storage device. Simply connect your USB device to your computer, and then copy the skin pack file onto it.
Next, connect your USB device to your Nintendo Switch console. Open up Minecraft, and then head into the Settings menu. From here, select ‘Global Resources, and then select the ‘Import Resource Pack’ option.
Locate the skin pack file on your USB device, and then select it to import it into Minecraft. That’s all there is to it! You can now enjoy all of the best Minecraft skins on your Nintendo Switch console.

Minecraft: Mobspotter's Encyclopedia: The Ultimate Guide to the Mobs of Minecraft
$15.98
How to install Minecraft mods on Nintendo Switch
Minecraft mods are a great way to add new content to your game, and there are plenty of them to choose from. But if you want to install mods on your Nintendo Switch, you’ll need to follow a few steps.
First, you’ll need a Nintendo Switch Online membership. This will let you connect to Minecraft servers and use certain Minecraft mods.
Next, you’ll need to find a Minecraft mod that you want to install. Many websites offer Minecraft mods, so take some time to browse around and find one you like. Once you’ve found a mod, download it onto your computer.
Now, connect your Nintendo Switch to your computer using a USB cable. Then, open the “Settings” menu on your Switch and select “System,” “External Storage,” and then “Copy Content.” Select “OK” when prompted.
Finally, open the downloaded mod file on your computer and drag it into your device’s “Nintendo Switch” folder. Once the file has been transferred, disconnect your Nintendo Switch from your computer and launch Minecraft. The mod should now be installed and ready to use!
How to import Minecraft worlds to Nintendo Switch
Assuming you have a world saved to your computer, you can find it by opening up Minecraft and clicking on ‘Profile’ > ‘Open Worlds Folder’. A file browser will open up, showing all of the files related to your world. If you’ve played Minecraft before, you’ll recognize the different files:
Amazon and the Amazon logo are trademarks of Amazon.com, Inc, or its affiliates.